In a well-set-up home print workflow, trimming should be minimal.
When files are sized correctly and the paper size is set properly in the printer settings, prints leave the printer with a consistent white border by default. Trimming becomes occasional rather than routine.
If you are constantly trimming to fix borders, the mistake is happening before the cut.
This page focuses on building a setup where trimming supports the process instead of rescuing it. A broader overview of how trimming fits into the full print workflow is covered in tools and equipment for a one-person, home-based print business.
Print to Size First, Trim Second
The most stable approach is to size your files to the exact paper dimensions you are using and then select that paper size in the printer dialogue.
When the paper size is set correctly, the printer handles margins automatically. If your artwork is placed properly inside that space, you receive a consistent white border without adjustment.
That border stays consistent across batches.
In this type of setup, trimming is usually limited to removing minor edge variation or correcting the occasional sheet that feeds slightly off.
If you find yourself trimming heavily on every print, review:
- File dimensions
- Scaling settings
- Paper size selection
Trimming should not be correcting sizing mistakes.
Choosing a printer that handles paper size and feed consistently is covered in what printer do you need to sell art prints from home.
When Borders Disappear
Even in a disciplined setup, paper feeding is not perfect.
Occasionally a sheet feeds slightly off and the first border narrows or disappears. When that happens, the print is effectively lost because the margins are no longer uniform.
You can attempt to trim it back into balance, but once framed, uneven borders are noticeable.
In reproduction wall art, the border is not background. It is part of what the buyer sees on the wall. If the paper feeds slightly off and you compensate with trimming, that asymmetry shows up once the print is hung.
In most stable home setups, paper feeding off slightly is more common than the cutter being wrong. Selecting stock that feeds reliably is discussed in choosing the right paper for public domain art prints.
When You Actually Need to Trim
There are still situations where trimming is necessary:
- Removing slight edge variation
- Cleaning a rough cut edge
- Correcting minor overspill
- Finishing mounted prints
In these cases, trimming is a finishing step.
For small art prints, keeping borders consistent within about one millimetre is generally sufficient. That level of tolerance looks balanced at normal viewing distance once framed.
You do not need laboratory precision. You need repeatable balance.
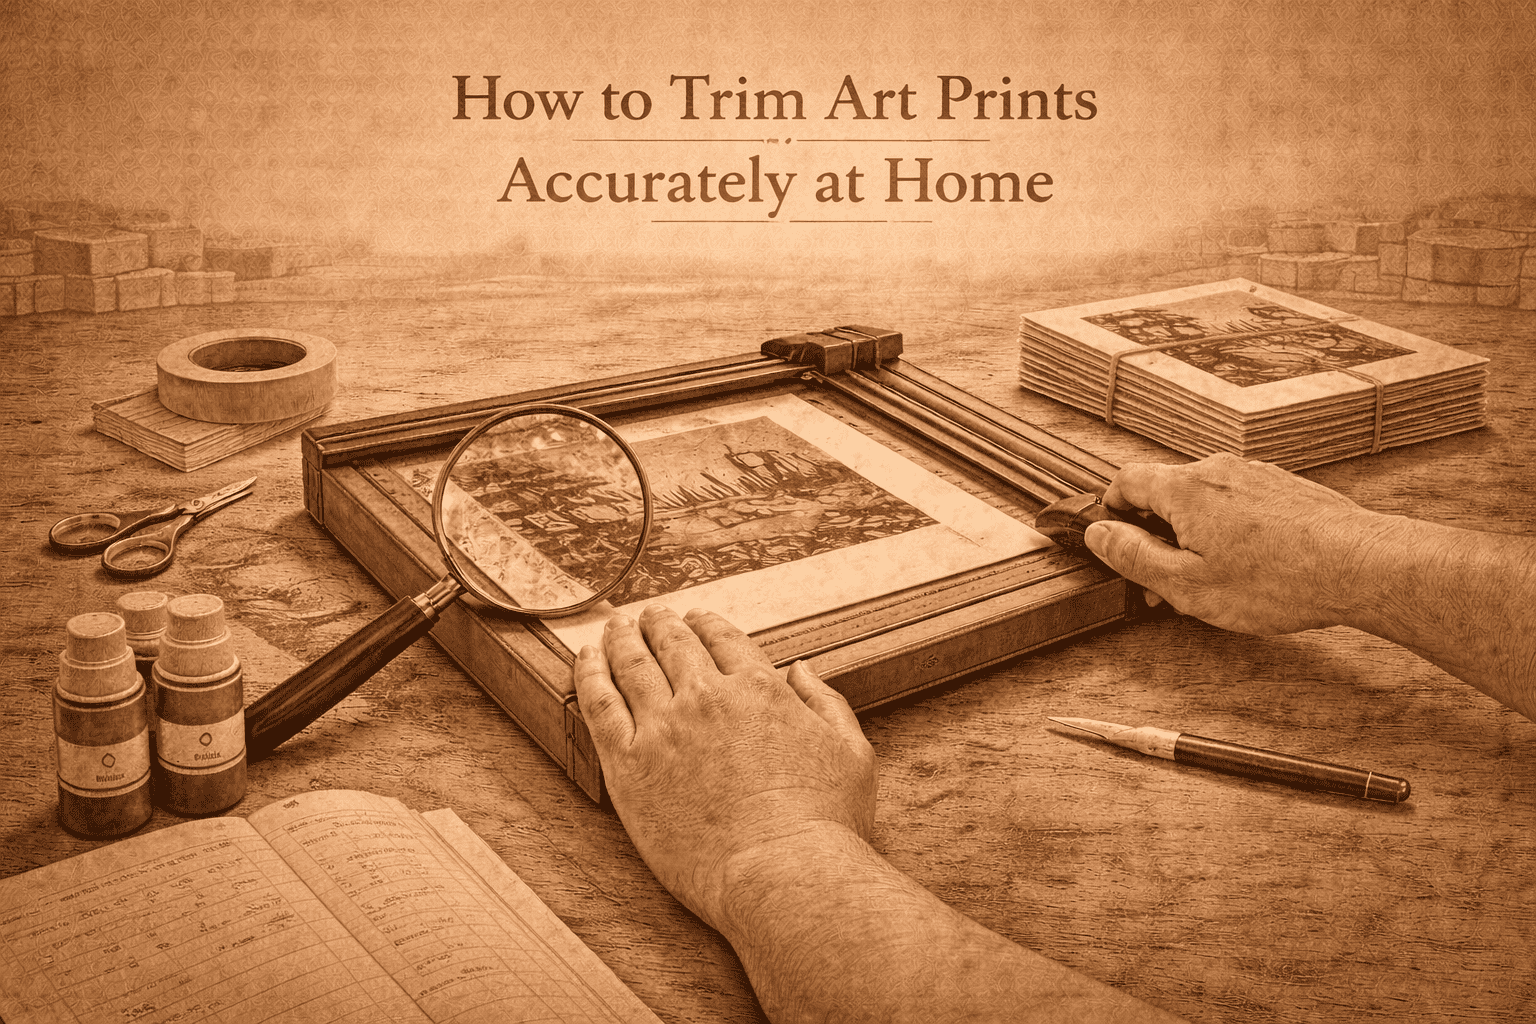
Cutting Tools in a Minimal-Trim Workflow
If trimming is occasional rather than constant, your cutter choice is about stability, not speed.
Rotary trimmers are usually sufficient for moderate paper weights and small volumes. A well-built rotary cutter that does not flex will hold alignment reliably.
Guillotine cutters handle thicker stock with more confidence but require stable placement and more space. In a spare room, available space is often tight. That matters.
Craft knives offer flexibility but rely heavily on hand steadiness and a solid guide. Without a fixed edge, small shifts are easy to introduce.
In a stable workflow, the cutter is not where quality is usually won or lost. It simply maintains alignment when needed.
Blade Condition Still Matters
Even if trimming is infrequent, blade condition affects edge quality.
If edges begin to feather or you find yourself pressing harder to cut cleanly, replace the blade before adjusting measurements. Increased pressure changes hand position slightly and can introduce uneven borders.
Blade wear is gradual. Replace earlier rather than compensating with force.
Batch Trimming and Fatigue
Trimming five prints feels different from trimming thirty.
As a session progresses, your hand pressure changes without you noticing, which means alignment can shift slightly.
If you see your cutting consistency drop toward the end of larger batches, reduce the batch size if possible or pause briefly and take a break. In a one-person workflow, small disciplined adjustments will protect repeatability.
How small reprints and trimming drift affect what you keep is examined in how much does it cost to print art at home for sale.
Signs the Problem Is Before the Cut
If you are trimming frequently to correct border imbalance, check:
- File size
- Scaling settings
- Paper size selection
- Paper feeding alignment
Getting the sizing right first reduces how much you have to fix later.
If borders disappear or narrow unpredictably, examine the printer feed alignment before replacing your tools. Often the issue is how the paper entered the printer, not how it was cut.
Consistency Beats Constant Fixing
The cleanest workflow is one where prints leave the printer with consistent borders and trimming is occasional.
Every manual correction introduces variation.
In a one-person public domain print business, getting the setup right reduces the need for intervention later.
When file sizing is correct and paper feeds reliably, trimming becomes maintenance rather than rescue.
That consistency is what buyers ultimately see when prints are framed and hung together.
